How to embed borderless, autoplaying, looping videos on Squarespace

Updated June 18, 2020 - Added more details on Handbrake and basic S3 usage.
Updated June 8th, 2020 - Added details from reader feedback regarding “playsinline” attribute for additional compatibility.
Updated May 4th, 2020 - Added details from reader feedback regarding “muted” attribute for additional compatibility.
Updated March 28, 2023 - Added a shortcut to use Custom CSS file upload in Step 2 and bypass AWS.
First, an example
As a preview of what this post accomplishes, here’s a borderless, autoplaying, looping video embedded below.
Background
I’ve tried embedding videos from other video services like YouTube or Vimeo, but they all put some kind of branding or controls. GIFs work nearly everywhere, but they're terrible quality and huge file size.
For example, here’s what the most minimal version of a YouTube embed looks like; using modestbranding=1 and frameborder=0
What you'll need
This approach is a little more involved than just embedding a YouTube video, but from my trials it provides the best experience.
A Squarespace account - for obvious reasons.
Handbrake - For transcoding your video into the right format.
(optional with workaround in Step 2) An AWS account for Amazon S3 (or an equivalent alternative) - For hosting your video file
Step 1: Encode with Handbrake
Handbrake is a great open source tool for transcoding video files, which we’ll use to get our video into the correct format for the web.
Click the button below to download the preset I use for encoding videos. They’re web optimized and will be 720p, but you can adjust that to your needs.
Import Preset
Open Handbrake and click the “Presets” button in the top right. Click the gear at the bottom and choose “Import”.
Once imported, you should see “Squarespace 720p” now in your list. We’ll come back to this in a second.
Drag and drop your video anywhere onto the handbrake window. It should then show you a preview.
Apply Preset
Once your video is loaded, open the “Preset” window in the top right again, and select “Squarespace 720p”. You’ll notice some of the values in the main window will have changed.
Rename the output file so you don’t overwrite your original video.
Click “Start” to transcode your video into a web-compatible format.
At this point, you now have a very small video that’s ready for the web!

Step 2: Get a public URL for your video\
Update March 2023: As suggested by a commenter, you can upload your file to the Custom CSS function of squarespace (Design > Custom CSS > Manage Custom Files) and get a URL from there. Then you can skip to step 3.
The most reliable way to do this is to host your video on S3. Log into AWS, choose s3, then upload your video to a bucket, then get the public url for your video.
Create a new “Bucket” to upload your video to
UNCHECK the “Block all public access”
Check the box to acknowledge. Then continue through the rest of the steps with defaults.
Upload and make public
Create a folder to keep your files organized.
Upload.
Drag and drop your new video onto the blue upload screen. Then choose the dropdown to make it public.
You’ll see your upload in the list. Click the file name to open up the file details.
At the bottom, you’ll see Object URL. This is the public URL for your video. Use that URL for the instructions below.
Step 3: Embed it
June 18, 2020 Note: I realized that you can also just use the “Code” block to paste the same code below. You don’t need to use the Embed Block workaround unless you’re also linking to javascript sources.
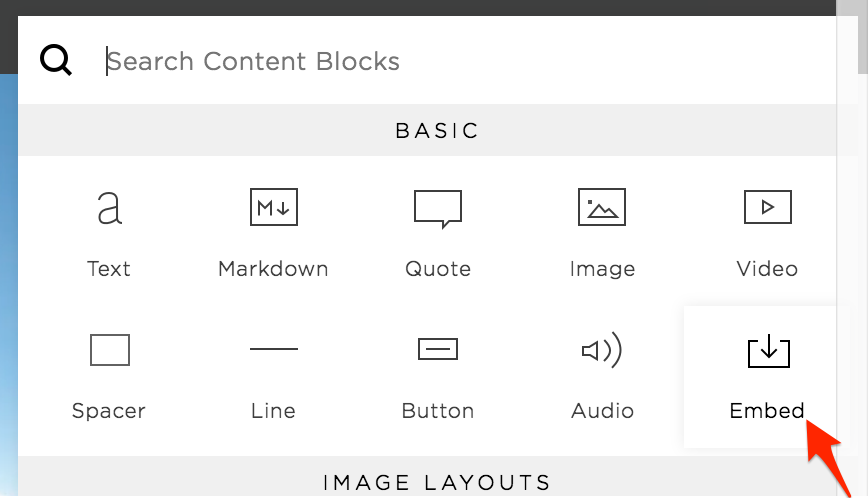
Choose the "Embed" Block
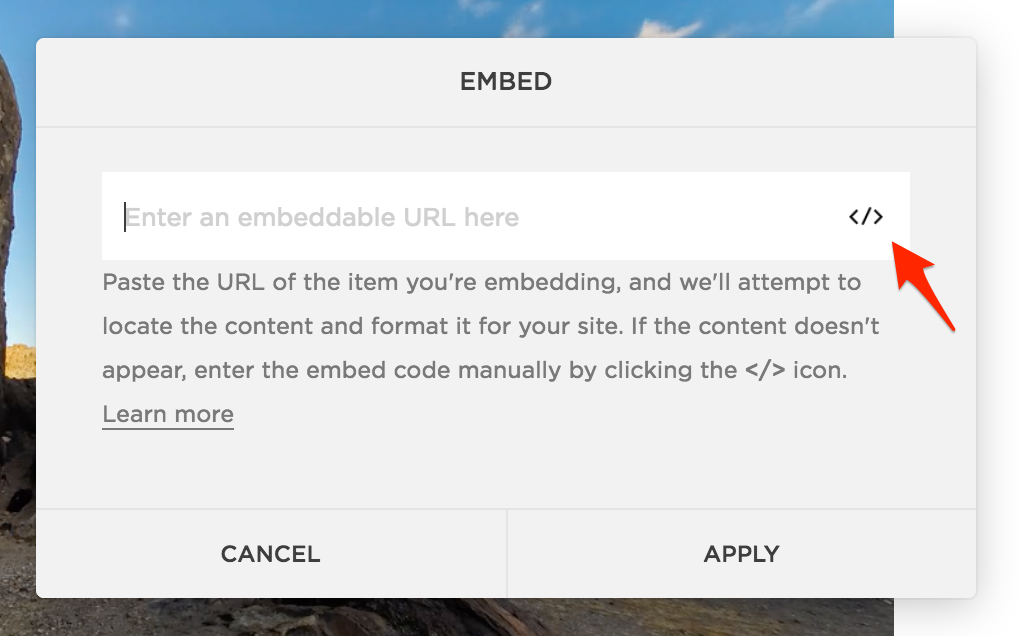
Click the "</>" to embed manually
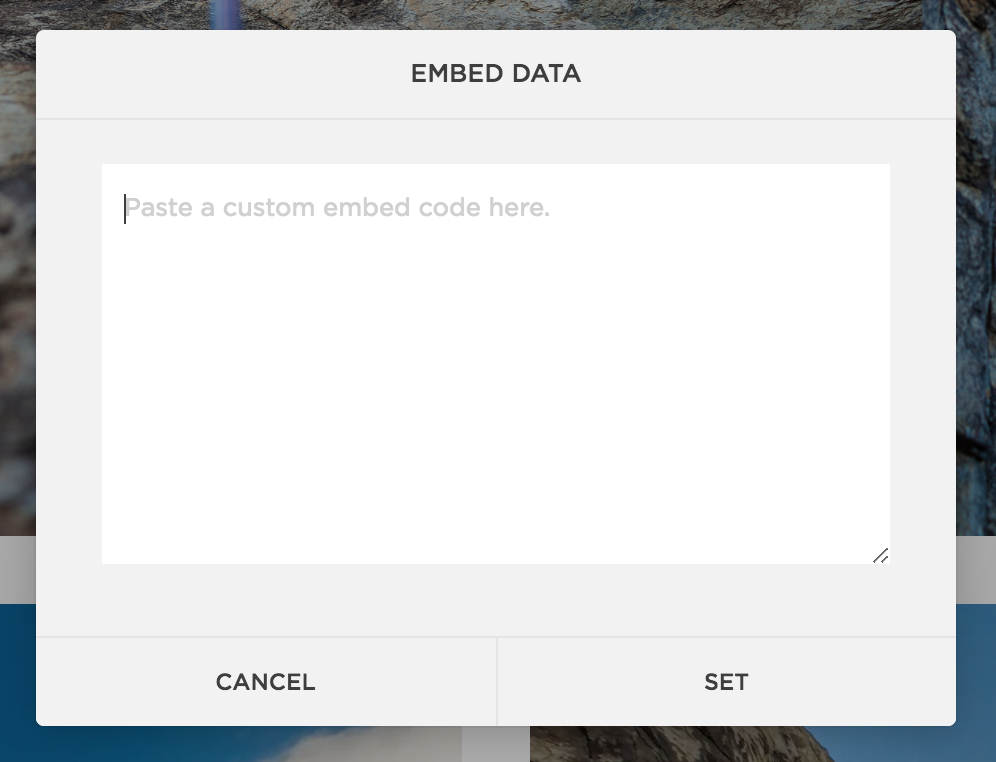
Paste the snippet below, customizing the urls from earlier

For more information on what the ‘playsinline’ attribute does, check out this post on css-tricks.com.
End Result
What's cool is that this should work with any content block placement and is even responsive. Below is an examples of how that works.
One downside I haven't addressed yet is that all sizes use the same resolution video. But I'm ok with that for now as I keep most videos pretty small and short.
Comment below if this helped you or if you have any questions!